Casting with Stonecast/ plaster
Casting with stone powder is not as easy as we are led to believe by the manufacturers of the product. When first using the stone powder you come across many problems with consistency, air bubbles, and bits breaking off when you try to remove the moulds. I could go on and on. So I hope the tips I am about to give you will help you with your project. It’s taken me 10 years to learn these lessons, at the cost of many cast pieces ending up in the bin and my frustration level going through the roof.
First off is mould preparation. There is no point trying to cast anything if your moulds are not clean. To gain the best from your moulds always clean them well after use and dust down with non-perfumed talc. This stops them from going sticky and prevents the rubber from deteriorating.
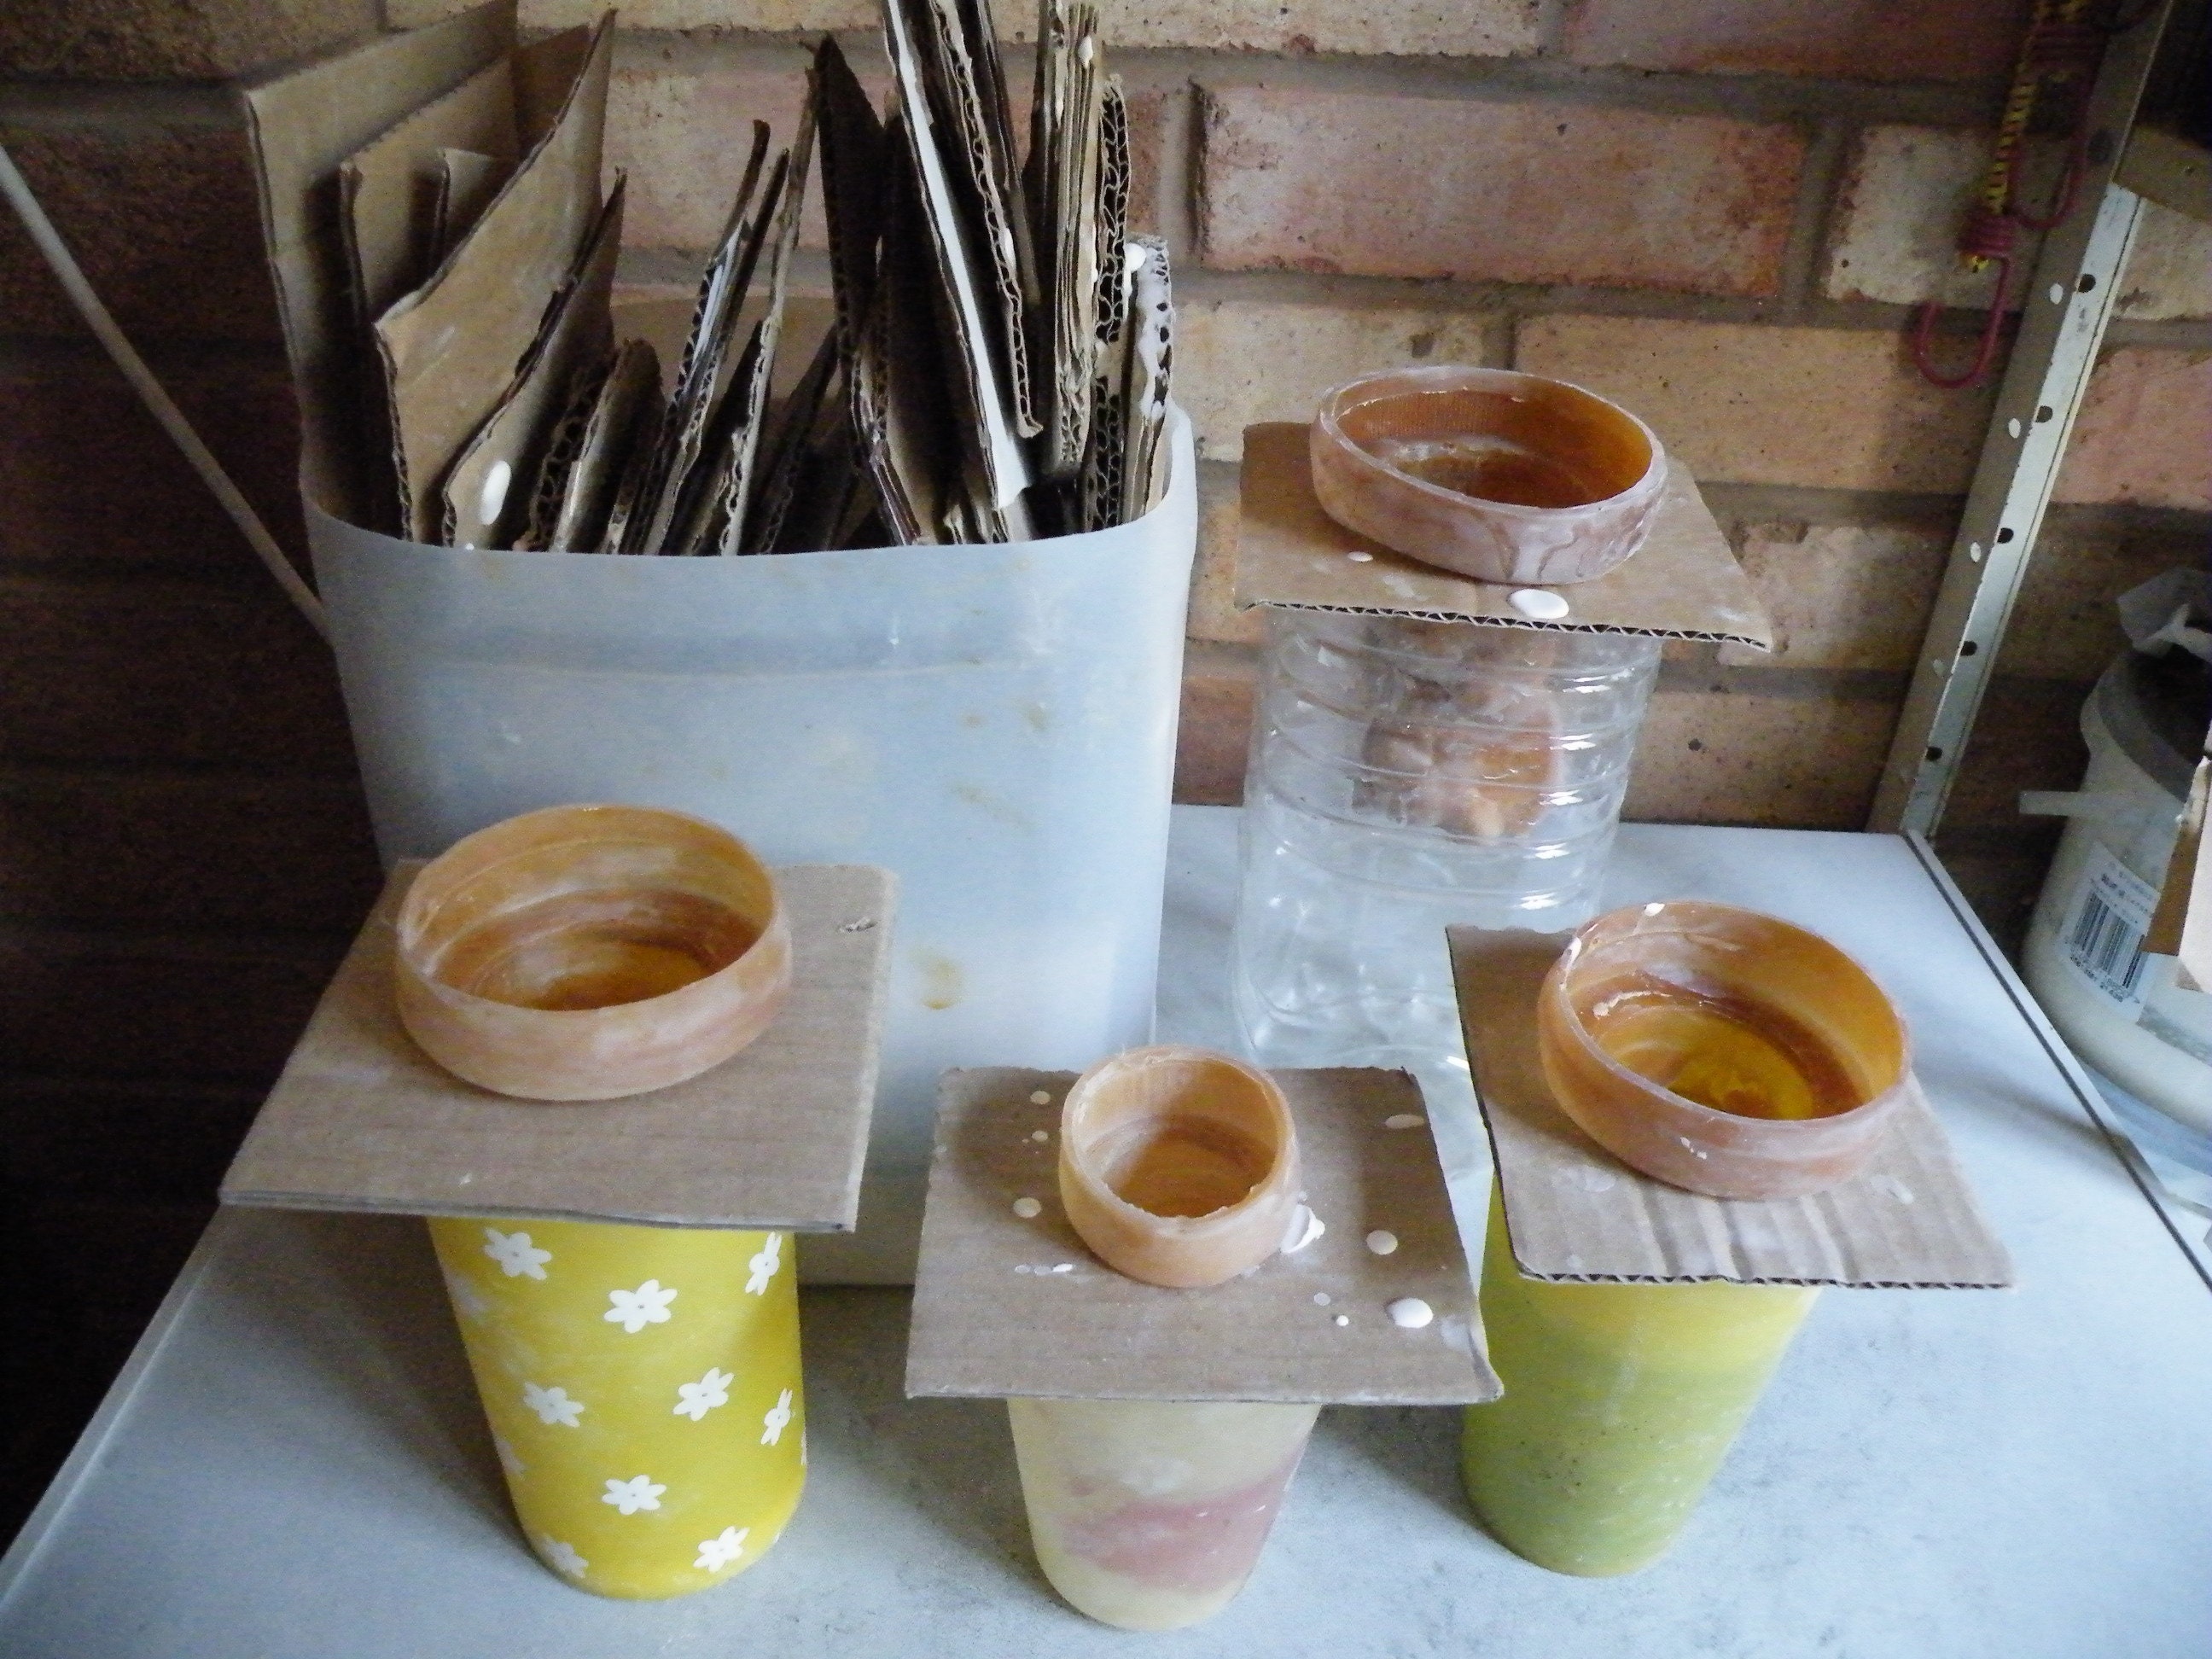
Second, always have your cardboard cut out supports made up before hand. Best way to do this is turn up the rim of the mould so the bottom of what would be the chess piece is touching it. Draw round and cut out. Repeat for each piece. This should give you a reasonable fit. It’s also best to mark them up with a marker, so it’s easy to recognise which cardboard support fits each piece.
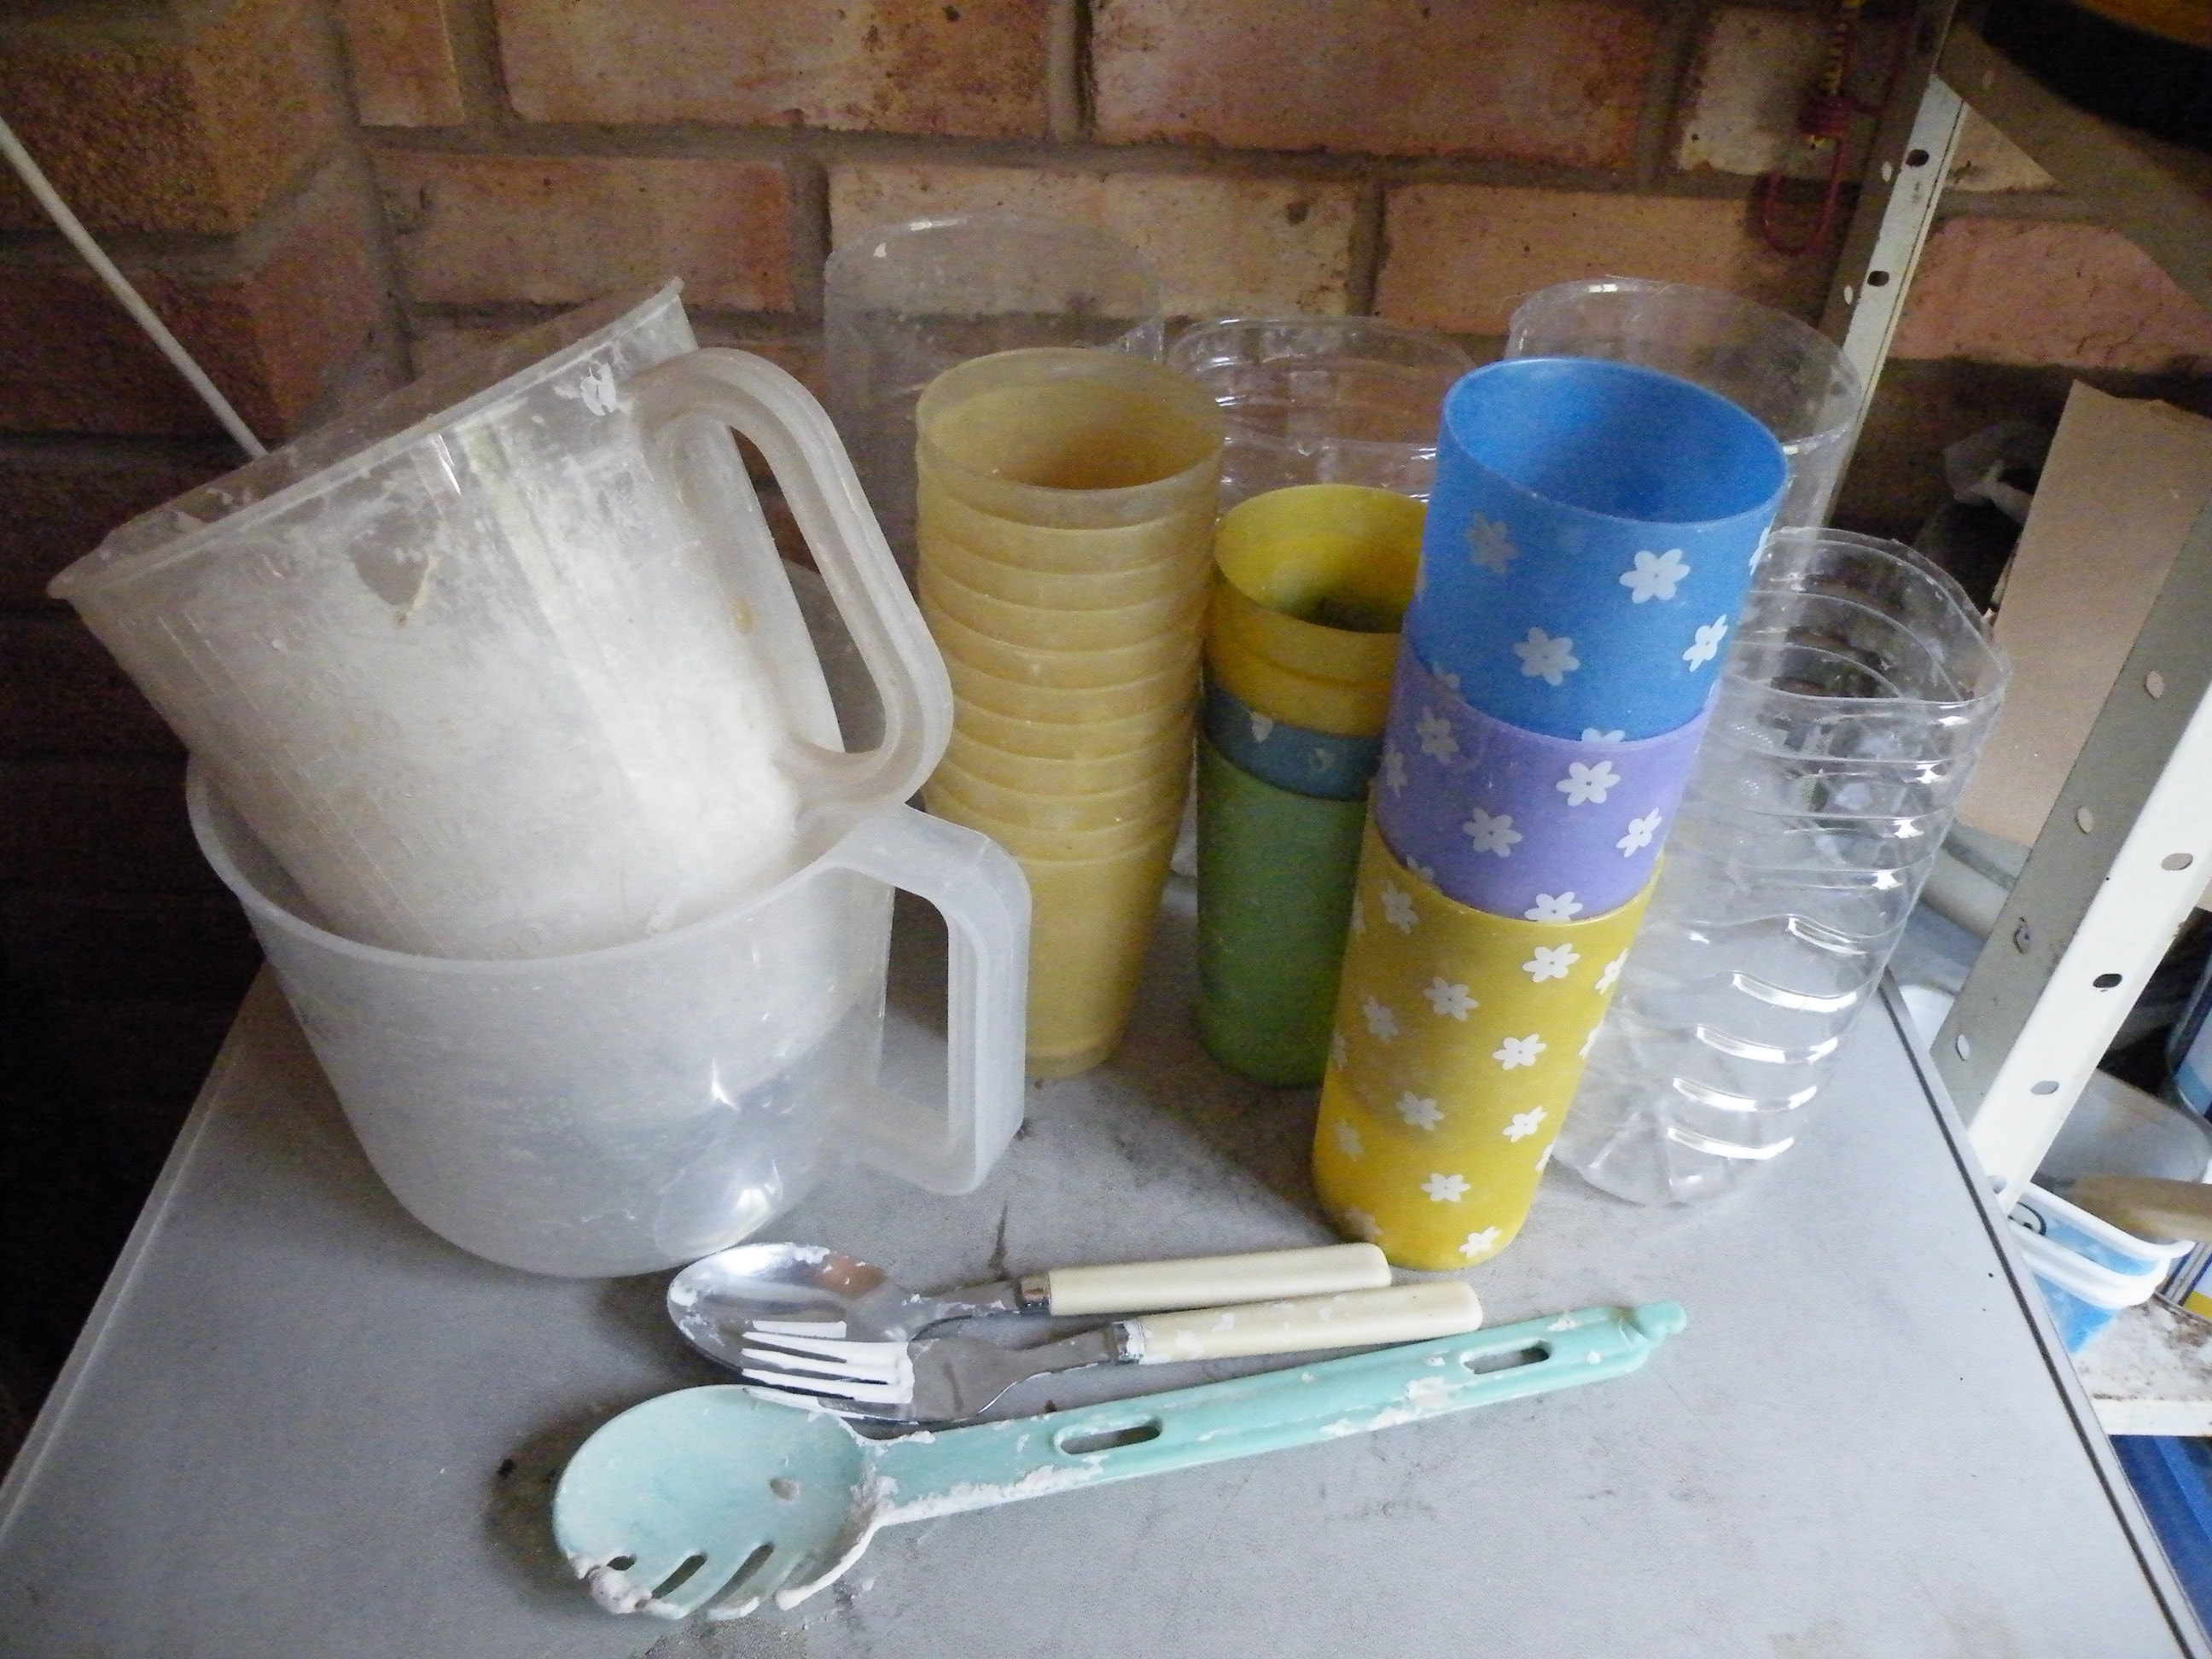
Other things that you will need are a plastic measuring jug, large plastic spoon, fork and a cloth to hand to wipe up any spills. A selection of cups/glasses or anything else you find suitable to rest your cardboard cut outs on. Just make sure that they are deep enough, so that the mould hangs freely and does not touch the sides or bottom, as this will distort the casting.
The moulds make a better bubble free cast when they are wet. So place all the moulds you want to use into a sink/bowl of warm water. Make sure it’s deep enough so you can turn the moulds upside down to let out any air bubbles. Manipulate the moulds in the water using thumb and forefinger. This will help the water to reach all the dry parts of the mould. Once you are sure they are totally wet measure approx ¾ of the mould volume and pour into your jug. Do this with all your moulds then leave them to drain for a minute or 2 then shake to remove any excess and place ready in cardboard supports on cups/glasses.
Now you need your large spoon . Place an amount of powder onto your spoon and gently sprinkle it into the jug with your measured out water. Keep doing this, trying to make sure it goes in evenly and without too many big lumps falling in. You will know when there is enough powder in as it won’t sink any more, and just form a small island in the middle of your jug. Make sure the powder also goes round the edges. Nothing worse than a big clump in the middle and nothing elsewhere. This will make the mixture too weak. Leave to stand for a minute till all the powder has sunk below the water line. Now its time for a stir with your fork. Gently stir from the outside working in, with your folk scrapping across the bottom of the jug. This way you should not put any more air into the mixture. You must only stir gently and for a short time. Letting the mixture settle in between stirs to allow the bubbles you release to raise to the surface. This should take no longer than a few minutes until the mixture has a very smooth consistency and no more bubbles rise to the surface.
You’re now ready to pour the mixture into your moulds. Pour the mixture into the mould using the side of the mould and allowing it to fill up. If you pour straight into the bottom you’re more likely to trap air bubbles in the mould detail. So always pour from down the side. From past experience I have found it best to pour out the mixture into all the moulds and then go back to manipulate out any other air bubbles. Do this by using the same method as you did in the water, thumb and finger and gentle rub the mould together. Pay special attention to high detail areas and things such as knight’s heads. The bottom jaw on most knights are placed in such a way that air bubbles will form if you don’t manipulate it out. When you place the supports back onto your cups it’s a good thing to make sure that the moulds sit square on their supports, otherwise you will end up with a lop sided cast that needs loads talking off and they can be very hard to get level again without causing too much damage to the piece. Fill your moulds to just above the level of the piece. This way it gives you cast to play with if the casts have not set square.
All that is left to do now is wait for it to set. It will take approx ½ to ¾ of an hour for the mould to feel warm as the chemical reaction starts. Then approx another hour or 2 depending on the mould size before you can remove the mould. But for best results leave 12 hours for it to fully harden :)
Remove your cast from its cardboard and head for the kitchen sink. Now gently rub a very small amount of washing up liquid on a wet hand around the main part of the mould. Leave the top part (where there is no cast material) dry. This will give you something to hold onto. Gently peel back the top of the mould until you have a proportion of it in your hand and a good grip of the piece. Now with a firm hand pull the mould forward over itself until it comes away from the cast. It should come away easy with the lubrication, but if not just try gentle force. Making sure not to be too rough as this could break off delicate protruding bits.
All that’s left to do now is wash your moulds and leave the cast somewhere safe to dry. Don’t try to dry them too quickly on radiators and other heat sources, as this will only dry the outside. If you then go on to try and paint/stain your mould it will be damaged as the rest of the moisture tries to escape.
It can take anything from a few days (in a dry centrally heated house) to a week to dry the pieces thoroughly. A distinctive ping can be heard from the piece when it is totally dry. Finishing the piece by removing any excess at the base.
Sand And Cement
Using a mix of up to 2 parts sand to 1 part cement and mix well dry before adding water. Using warm water make the mix fairly thin and gently pour in the mould. leave to set for at least 48 hours. Washing up liquid can also be used on the outer mould to further assist with de moulding.


